AI
Designing with Framer Agents: a practical workflow
Branches, better briefs, scoped prompts and a final check. How to get the speed of Framer Agents without the mess.
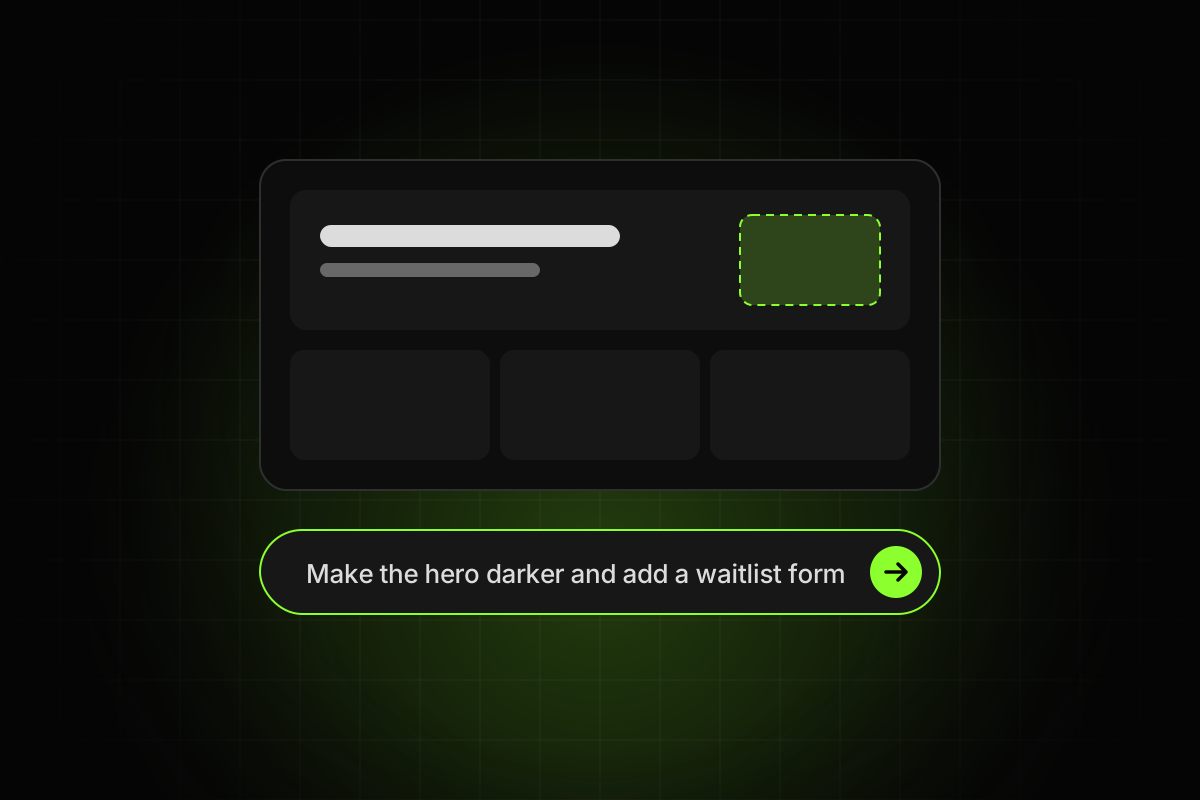
Framer Agents can build a section, restyle a page or fill a CMS in seconds. Used carelessly, they can also scatter one-off styles across a project faster than you can undo them. This is the workflow that gets the speed without the mess, based on Framer’s own guidance and what works in practice.
1. Start on a branch
If you’re on Pro or above, create a branch before a big agent session. Open the branch menu next to the project title and create a new one. Your live site and main stay untouched, and you can publish the branch to get a preview link. On other plans you still have a safety net, since every agent message is its own rollback point. A branch just makes it easier to review a whole session at once.
2. Open the Agent and brief it properly
Select Agent in the right-hand panel. Then write a brief, not a wish. Framer’s example is a good model: instead of “Create a hero section”, try “Create a dark hero section with a centered headline, two lines of gray supporting text, and a primary call-to-action button with rounded corners.”
Before you prompt, decide:
The section type, and what content goes in it.
How many items, cards or columns.
The layout you want, and the styling direction.
3. Give it references and real assets
Agents do better with something to look at. Attach screenshots, wireframes, hand-drawn sketches, logos and real product images instead of letting it invent placeholders. For interactions and animations, Framer suggests giving both screenshots and a live URL that shows the behavior.
4. Select first, then prompt
Select a section on the canvas before you send a prompt. That turns on the context tool and tells the Agent to “focus only on the selected area”, so it doesn’t make changes elsewhere on the page.
5. Build one section at a time
Framer recommends building section by section rather than whole pages. Create the section, select it, refine it with follow-up prompts, then move on. Small steps are easier to review, cheaper in credits and easier to roll back.
6. Keep it on your system
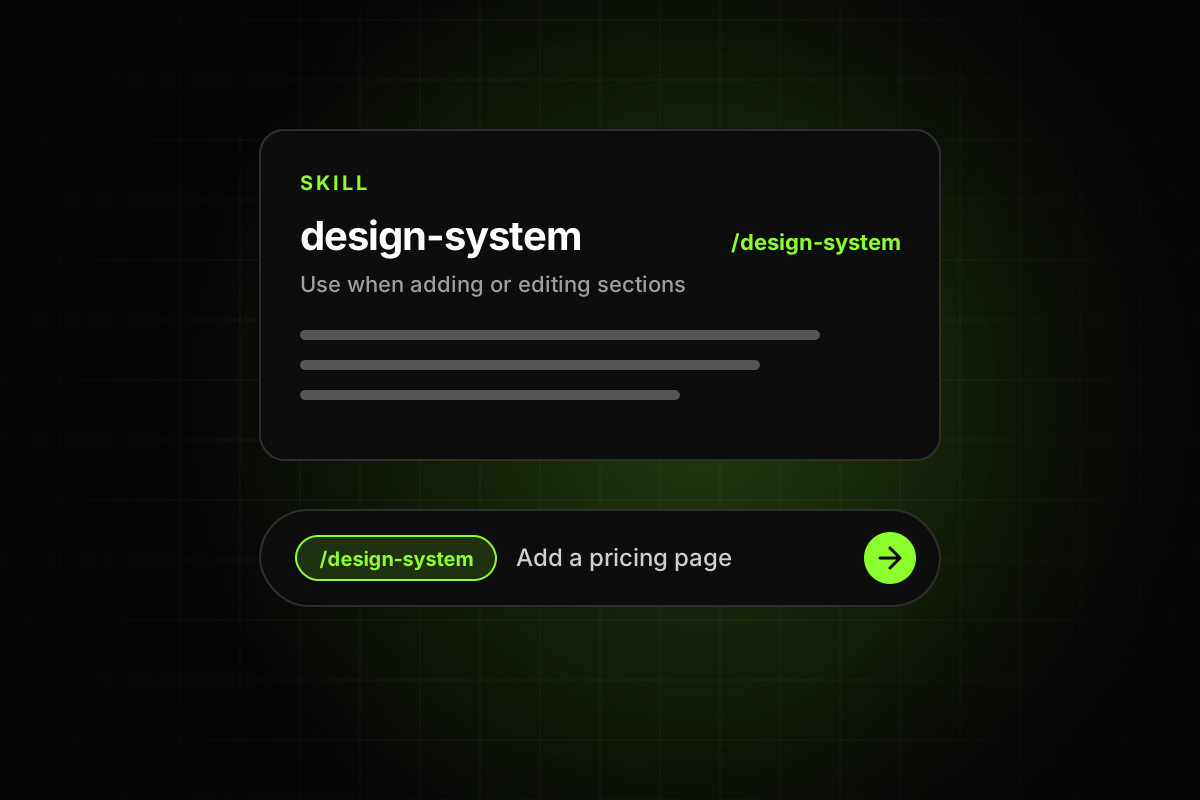
Agents will happily invent a new color or font size for every section. Ask them to use your existing color styles, text styles and components, and to reuse the navigation and footer instead of rebuilding them. Then check that they did. A project full of one-off values is hard to edit later, for you and for anyone who buys the template.
7. Watch your credits
Credits are shared across your workspace and renew monthly without rolling over. What a prompt costs depends on how much work the Agent does, so precise, scoped prompts are also the cheap ones. If a result is unusable, mark it as bad to get the credits back.
8. Review before you apply
On a branch, open Review Changes to see the diff, then Apply what you want to keep. Applying updates main but doesn’t publish, so you still get one last look before anything goes live.
9. Check the output like a reviewer would
Agents are fast, not careful. Before you publish, check:
Breakpoints: resize slowly from desktop to phone, and look for overflow, cramped text and broken stacks.
Links: every button goes somewhere real, and email and phone links use mailto: and tel:.
Content: no leftover placeholder text, and alt text on every image.
Structure: sensible layer names, one H1 per page, and headings in order.
CMS: fields named clearly, and no empty or test entries.
10. Use external agents for the big jobs
For bulk work like importing content, renaming layers across a project or running audits, you can connect Claude Code, Cursor or Codex with the /framer skill. They can create branches and work without the project open. The same rules apply: work on a branch, review, then apply.
Agents are a fast collaborator who never gets tired and never notices its own mistakes. Give them clear briefs and tight scopes, keep them on your design system, and always check their work before buyers see it. Framer Academy has a short lesson on polishing pages with the Agent if you want to see it in action.